The Dashboard

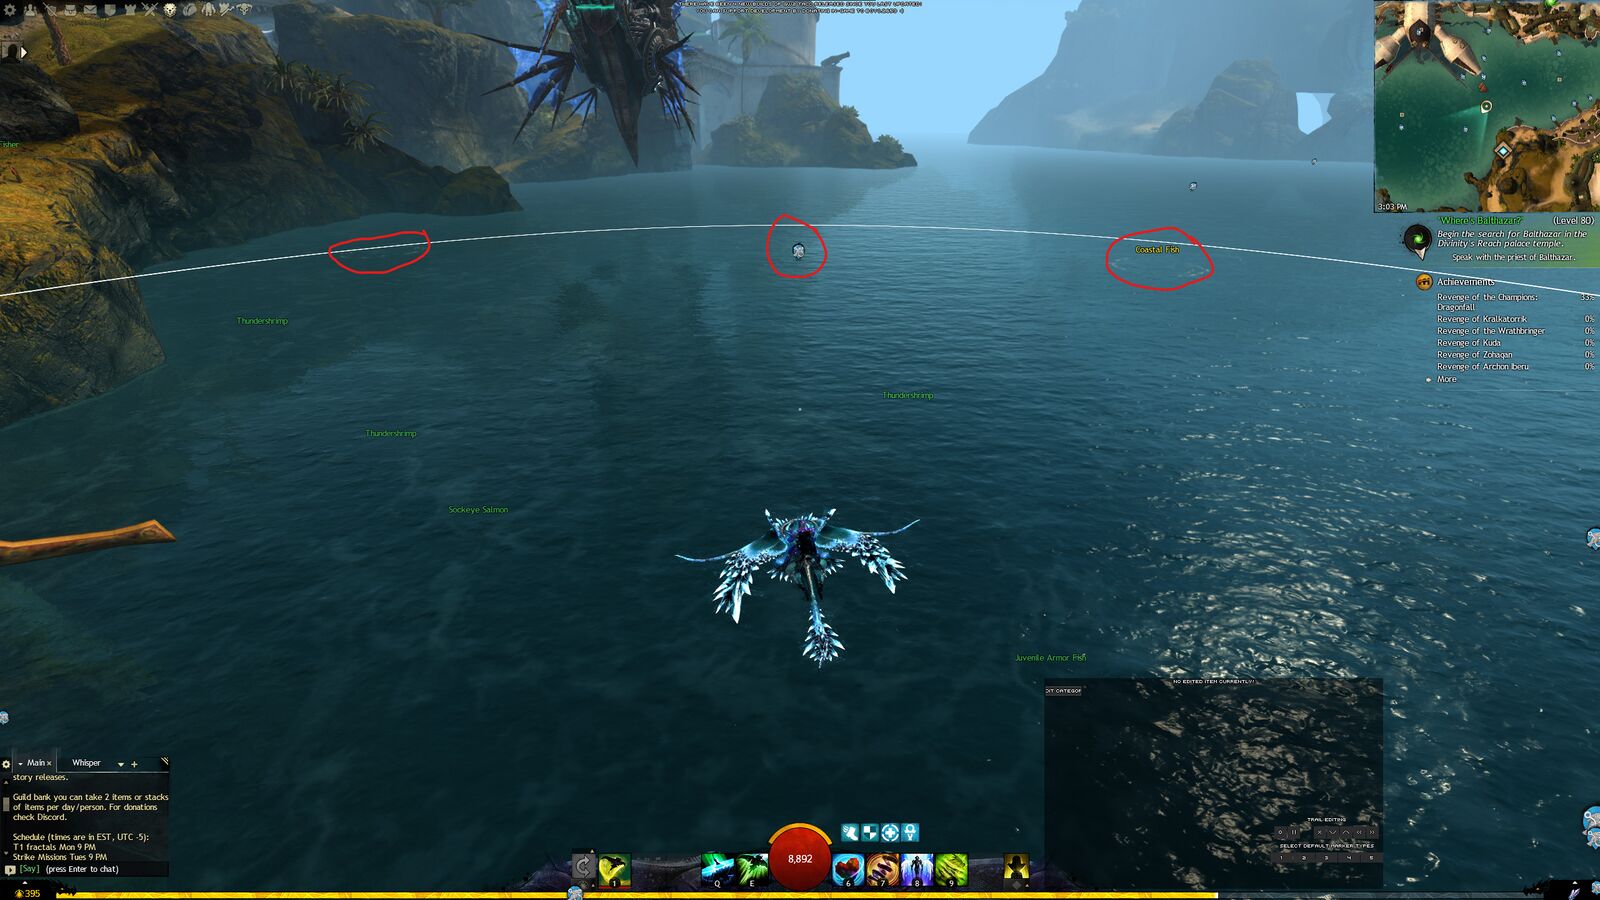
In the picture above, you can see an already placed marker, an unmarked hole within range, and an unmarked hole just out of range (all circled in red)
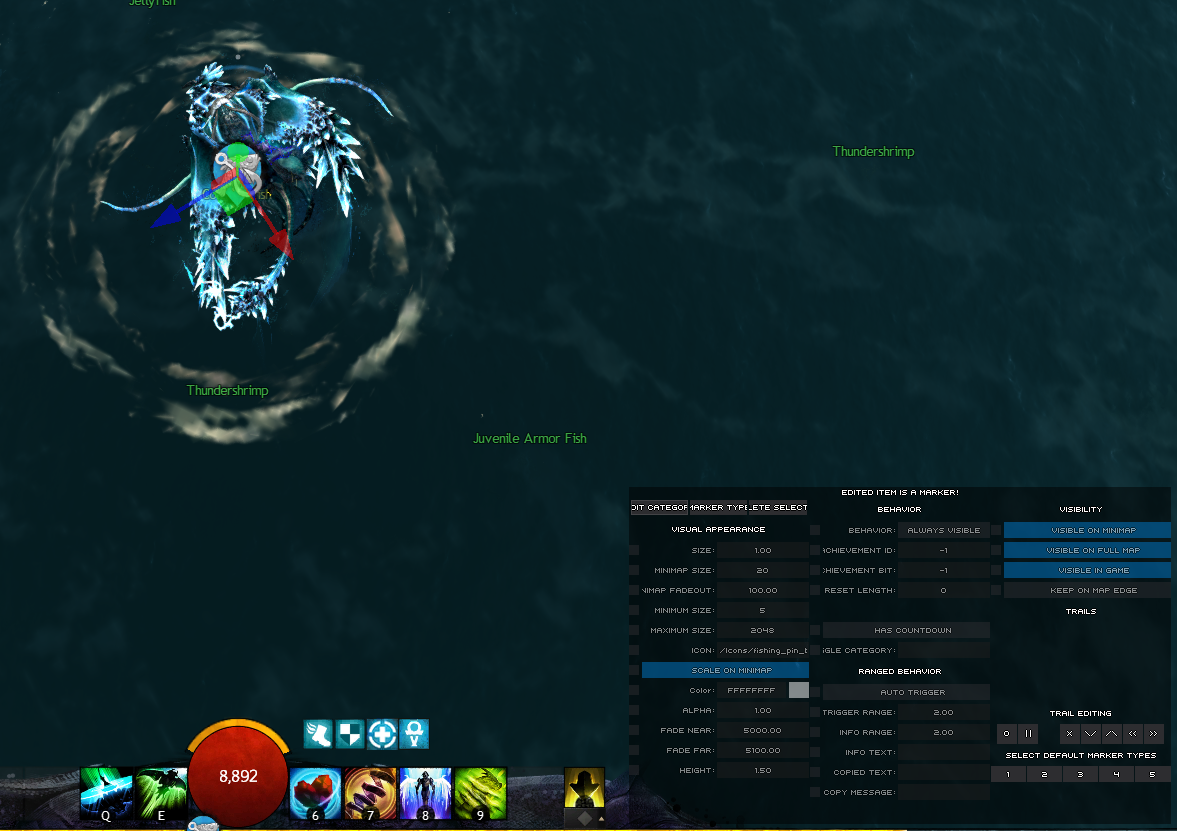
NOTE: Your Marker Editor may not look like mine. BoyC has made some big changes quite rapidly regarding the editor. I'm running https://github.com/BoyC/GW2TacO/releases/tag/062.3605r for this tutorial. You may want to find "Window Edit Mode" or similar under the "GW2 TacO settings" header in the TacO menus and resize it to see all the attributes. You might also need to select/drop a marker to "activate" it.
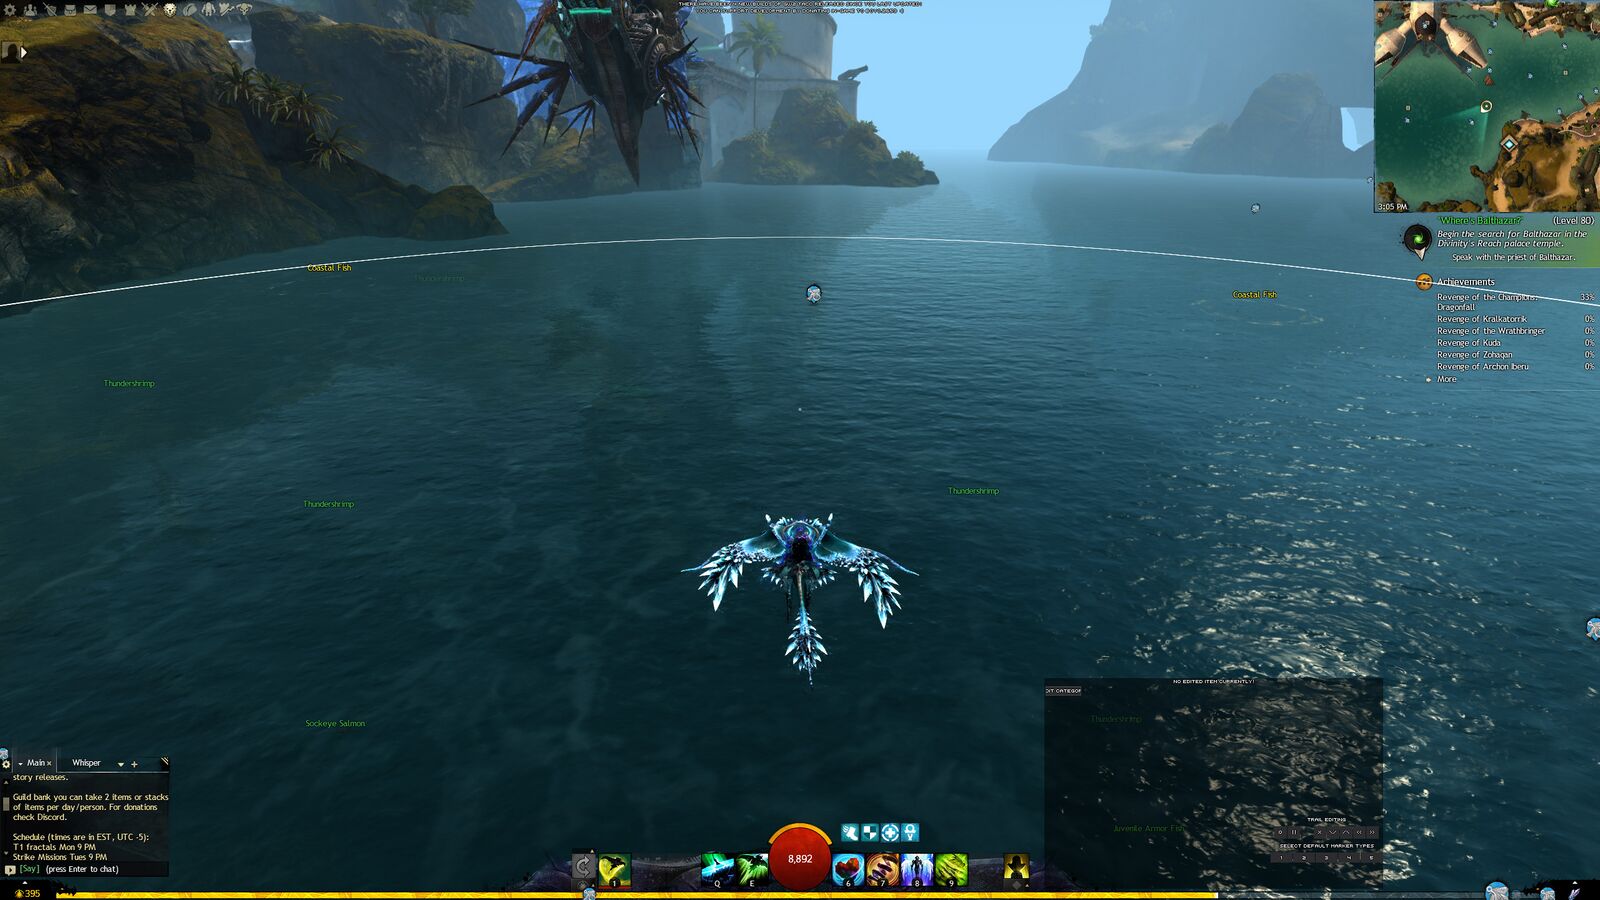
The label appears as the hole on the left moves in range.

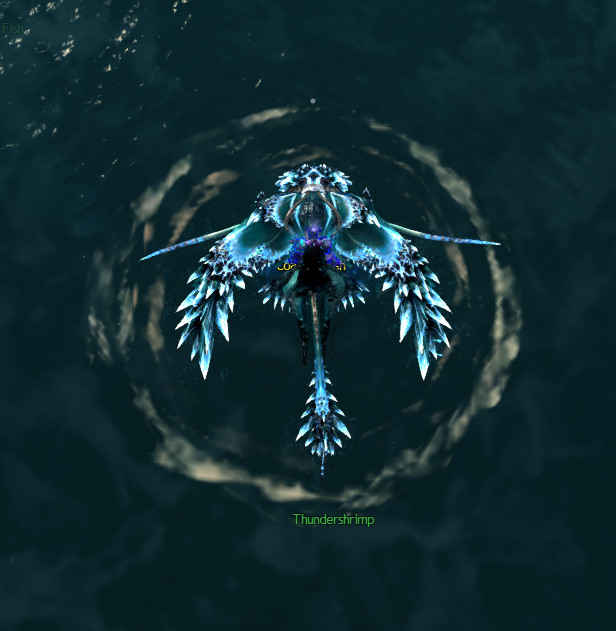
Line up the "shot": For my purposes I like to mark fishing holes on a skimmer, it lets me line up the text between the front and back sets of wings for an almost dead-center marker.

FIRE!

Now for this shot, I pressed my category 1 key (Num +), and rather than the gold diamond, it tossed my custom fishing marker (thanks to Nicodemus in the Blish HUD Discord for the template!)
The special icon is displayed because I set my "Default Category" configurations in the very bottom right.
By default, TacO only knows its own default categories, but by loading in any marker pack, it can "learn" about any category configuration in them. For this, I've already loaded an old version of my "Only Fish" Pack, so it knows all the fishing hole categories and that they all use my custom marker.
Now, at the time of this marker drop, my Default Category 1 is for "Desert Fish" holes. and so the marker itself shows like so in the poidata.xml file under the TacO directory, where it stores all new markers.
<POI MapID="50" xpos="-194.279" ypos="1.37639" zpos="-161.135" type="fishing.fishingholes.desert" GUID="xM5D+V2CUEGt0qIpbEik4g=="/>